Does an iPhone actually take good enough newborn photos? It does, and beautiful newborn photos with your iPhone come down to three habits: clean glass with the flash off, soft window light, and shooting in bursts so you catch the micro-expressions that make a photo. The backdrop, the styling, even the "studio look" can all be handled afterward.
What follows is the full routine, from camera prep to editing, plus what makes one of your shots perfect for AI restyling at the end.
Prep the camera before you prep the baby
- Wipe the lens. A phone lives in pockets and diaper bags, so it's almost always smudged. Ten seconds with a soft cloth is the single biggest sharpness upgrade available.
- Turn the flash off, and leave it off. Direct flash flattens delicate newborn skin, creates harsh shadows, and can startle a sleeping baby. Natural light always wins.
- Turn the grid on. Settings → Camera → Grid. It keeps horizons level and helps you place your baby's face on a pleasing third of the frame.
- Tap to focus on the face. Then slide the little sun icon down slightly. A touch of underexposure protects highlights on bright blankets and keeps skin tones soft.
Should you use portrait mode for newborn photos with an iPhone?
Portrait mode's blurred background looks professional, but it isn't always the right call for a squirmy newborn. The honest comparison:
| Portrait mode | Standard Photo mode | |
|---|---|---|
| Background | Soft, studio-style blur | Everything in focus (clutter shows) |
| Fine detail | Can smudge wispy hair and blanket edges | Crisp lashes, fingers and fabric |
| Speed | Slower, needs distance and steady framing | Instant, works close-up |
| Best for | Calm, still moments in good light | Bursts, candids, detail shots |
Use Photo mode as your default. Switch to portrait mode only when your baby is settled and the light is strong. If you plan to restyle the shot with AI later, standard mode's edge-to-edge sharpness is actually the better starting point.
Where should you put the baby for window light?
Look for a large window with soft, indirect daylight. Position the photo area so light crosses the scene at roughly 45 degrees, then switch off mixed-color ceiling lights. If direct sun is entering, move farther from the glass or use an installed sheer curtain; do not hang loose fabric where it can fall into the baby's space. Keep the baby on their back in an appropriate firm, flat setup or in an alert adult's ordinary supported hold. For a deeper walkthrough, see our guide to newborn photography lighting and the full newborn photoshoot at home setup.
Which camera angles flatter a newborn?
- From above: kneel securely beside a floor-level setup, use both hands or a wrist strap, and keep the phone away from directly over the baby's face. Never stand on a chair.
- Slightly above eye level: for an ordinary parent-held or back-lying view, a modest downward angle keeps the face prominent without repositioning the baby.
- Level with the details: get low and close for feet, curled fingers and eyelashes.
- Avoid shooting up from below: it distorts tiny features and usually finds nostrils before it finds eyes.
Whichever angle you pick, frame a little wider than looks right. One stable frame can crop square for a milestone card and tall for a print, so you can make two layouts without repositioning the baby. Wide framing also leaves room to straighten a tilted horizon later without slicing off a foot.
Use burst mode to catch micro-expressions
Newborn expressions change quickly. Hold the shutter (or slide it left) to fire a short burst, then pick the single best frame afterward. Choose a naturally calm moment without delaying feeding, sleep or other care for the picture, and stop as soon as the baby needs attention. Our post on when to take newborn photos explains why studio timing conventions are not deadlines.
The difference between a good newborn photo and a great one is usually three frames apart. Burst mode is how you find it.
How much should you edit an iPhone newborn photo?
Newborn skin needs a light touch. In the Photos app, nudge Brightness and Shadows up slightly, pull Warmth a touch toward cozy, and stop there. Skip heavy filters; they date quickly and shift skin tones. (A photo edited to look like 2016 still looks like 2016.) Crop so the face sits on a third of the frame, and straighten the horizon. If you want more control over backdrops, blemishes and styling, a dedicated baby photo editor can take it from there.
One test settles most of it. Put the phone down, look at your baby, then look back at the screen. If the skin on screen is pinker, warmer or smoother than the skin in front of you, undo until the two match. The peeling, the blotches and the squashed newborn nose are the details you will want back in ten years, and every smoothing slider removes them first.
A passport application is the exception to this creative workflow: do not retouch, filter, replace the background or use AI. Follow the current official rules and the plain setup in our U.S. baby passport photo at home guide, then submit the original, unchanged photograph.
What makes a photo perfect for AI restyling
One sharp, well-lit frame is all an AI baby photo generator like Totti needs. That is the payoff for the technique above. The AI regenerates the background, lighting, outfit and styling while aiming to keep your baby recognizable, so the source photo's job is simply to show the face clearly. Always compare the result with the original.
- Sharp, unobstructed face: in focus, no pacifier or hand covering it.
- Good light on the skin: window light beats lamplight for true tones.
- A natural angle: straight-on or slightly above works best.
- One baby in frame for portrait templates.
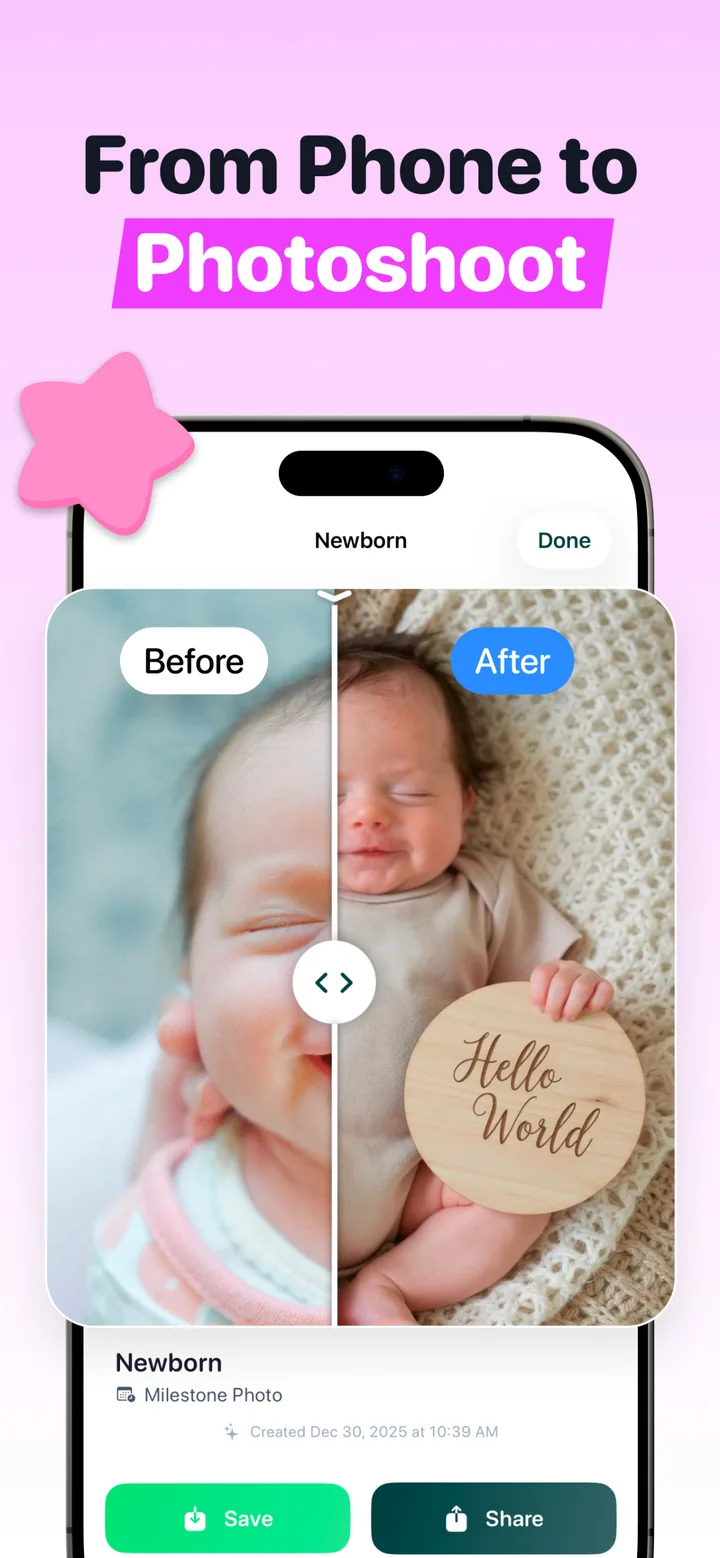

Turn your best iPhone shot into a studio portrait
Upload one clear, natural frame, pick from 50+ templates such as Sweet Slumber or Potato Sack Pose, compare the generated result with the source, and export in HD (2048×2560). Free to download on iPhone.
Get Totti on the App StoreSo don't wait for perfect conditions or a professional camera. Clean the lens, find the window, hold the shutter. The one great frame that comes out of it is the newborn portrait you'll actually print.