A phone, soft window light, a simple floor-level setup and an alert second adult are enough for straightforward DIY newborn photography. Keep the source photo natural and use editing or AI styling only as an optional creative step; generated results can vary and should be checked against the original.
This guide covers the gear, light, no-pose photo ideas, common mistakes and how Totti can restyle a selected frame. It does not teach physical newborn posing; use a trained newborn photographer for any setup that requires positioning, wrapping, props or compositing.
What do you need for DIY newborn photography?
- Your phone. Any recent iPhone is more camera than you need. Clean the lens first; pocket lint softens more baby photos than any other single cause.
- A plain, smooth background. Keep it outside the baby's reach or secured flat beneath an appropriate firm, floor-level surface. Do not use an adult bed, couch, beanbag or loose padded prop.
- A big window. Your main light. North-facing or shaded windows give the softest, most even glow.
- A white sheet or foam board. Optional: placed opposite the window, it bounces light back and softens shadows on the far side of the face.
- An alert second adult. They stay beside the baby and focus only on supervision while you photograph. Avoid raised surfaces entirely.
Light makes or breaks DIY newborn photos
Professional newborn photos look professional mostly because of light. Copy these rules and your snapshots jump a full tier:
- Use soft, indirect window light. Position the photo area beside the window so light falls across the scene at about 45 degrees.
- Prefer window light to direct flash. Direct flash and mixed ceiling light can produce harsh shadows or color casts. Use the window when practical and stop if the baby seems unsettled.
- Avoid direct sunbeams. If sunlight is streaming in, hang a white sheet over the window or wait for a cloudier hour.
- Shoot during the day. Daylight keeps newborn skin tones true; lamplight turns them orange.
If you want to go deeper, our newborn photography lighting guide covers window direction, timing and troubleshooting.
Which photo ideas avoid DIY posing?
At home, do not physically pose a newborn. Use only ordinary positions that are already appropriate for the baby, keep an alert adult beside them and move the camera rather than the baby.
- Back-lying view. If the baby is asleep, photograph them on their back in their normal empty, firm, flat sleep space. If awake, use an appropriate firm, flat floor-level setup with a supervising adult beside them.
- Details without repositioning. Photograph eyelashes, hands or feet from where the baby already is; do not curl limbs, turn the head or tuck hands for the camera.
- Ordinary parent-held frame. One alert adult holds the baby normally while a second adult photographs. Do not improvise a specialized hold for the image.
- Skip side, tummy, wrapped, upright, froggy, hanging and container setups. Do not use an adult bed, couch, beanbag, basket or other prop as a substitute for a safe surface.
- Use normal, comfortable room conditions and fitted clothing. Do not aim a heater at the baby or add a wrap, costume or accessory solely for the photo.
For the full checklist, read our newborn photography safety rundown before your first session.
What are the most common DIY newborn photo mistakes?
These mistakes are common in first-try home sessions. Any frame can be skipped or reshot; the baby's care and comfort come first.
- Scheduling around the photo instead of the baby. Choose a naturally calm moment, but never delay feeding, sleep or other care for a shot.
- Busy backgrounds. Laundry, cords and patterns pull the eye from the face. Use a plain wall, a background kept outside reach or a tighter crop.
- Overhead light on, flash on. See above. Window only.
- Extending the session for one more frame. Take a small burst when a natural moment appears, then stop rather than prolonging the session.
- Trying to copy professional poses. Do not reproduce any pose that requires positioning, wrapping, support, props or later removal of supporting hands.
How long should a DIY newborn session be?
Twenty minutes, and you can stop sooner. Aim for one frame you would be happy to print, then let everyone go back to napping.
A DIY session that produces one sharp, well-lit, natural photo is a complete success. That frame can support several creative edits, although every generated result will vary.
A realistic 20-minute session plan
- Minutes 0–5: Follow your baby's usual feeding and settling routine. Prepare a plain background outside reach before bringing the baby into the photo area.
- Minutes 5–10: Make a back-lying view from a stable angle. Do not hold a loose phone or camera directly over the baby's face.
- Minutes 10–15: Detail shots of eyelashes, hands and feet without repositioning the baby.
- Minutes 15–20: If another adult is available, take one ordinary parent-held frame, then stop. End sooner whenever the baby needs care or seems unsettled.
How AI changes the styling of a DIY snapshot
The main visual difference between a simple home snapshot and a styled portrait is often the set design. Totti can regenerate elements such as the background, lighting, outfit and props while aiming to keep the subject recognizable. AI can also alter facial details, hands, clothing or proportions, so compare every result with the source and discard anything inaccurate. A simple back-lying photo can be used to explore a virtual styled scene without physically placing the baby in a specialty pose.
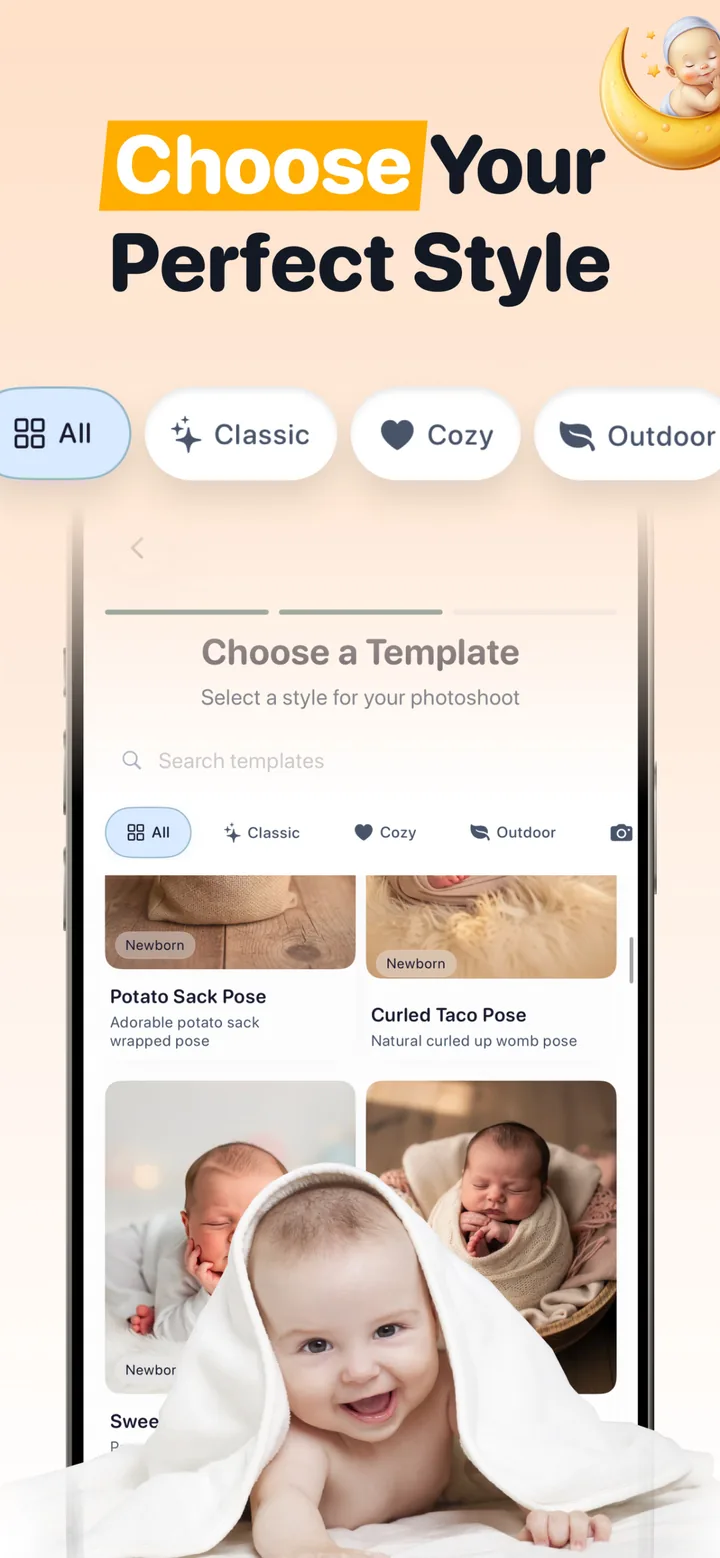

Finish your DIY shoot with Totti
Upload a clear natural frame, choose from 50+ templates across Classic, Cozy, Outdoor and seasonal styles, and export a studio-style portrait in HD 2048×2560. Results vary and should be checked against the source. Free to download on iPhone.
Get Totti on the App StoreDIY alone vs. DIY + AI: what actually changes
| DIY only | DIY + Totti AI | |
|---|---|---|
| Backdrop & props | Whatever's in your house | 50+ styled scenes |
| Outfits | What fits today (and stays clean) | Virtual knits, rompers, holiday wear |
| Physical setup | Back-lying, detail or ordinary parent-held view | Same simple source; styling is digital |
| Editing | Your filter skills | Generated lighting and styling; results vary |
| Cost | Free | Free to start |
The two approaches can form a simple workflow: photograph a natural moment at home, then decide whether to restyle it. If you want a fuller walkthrough, our newborn photoshoot at home guide covers a short setup, and the newborn photo poses guide explains why specialty poses should not be attempted as DIY setups.