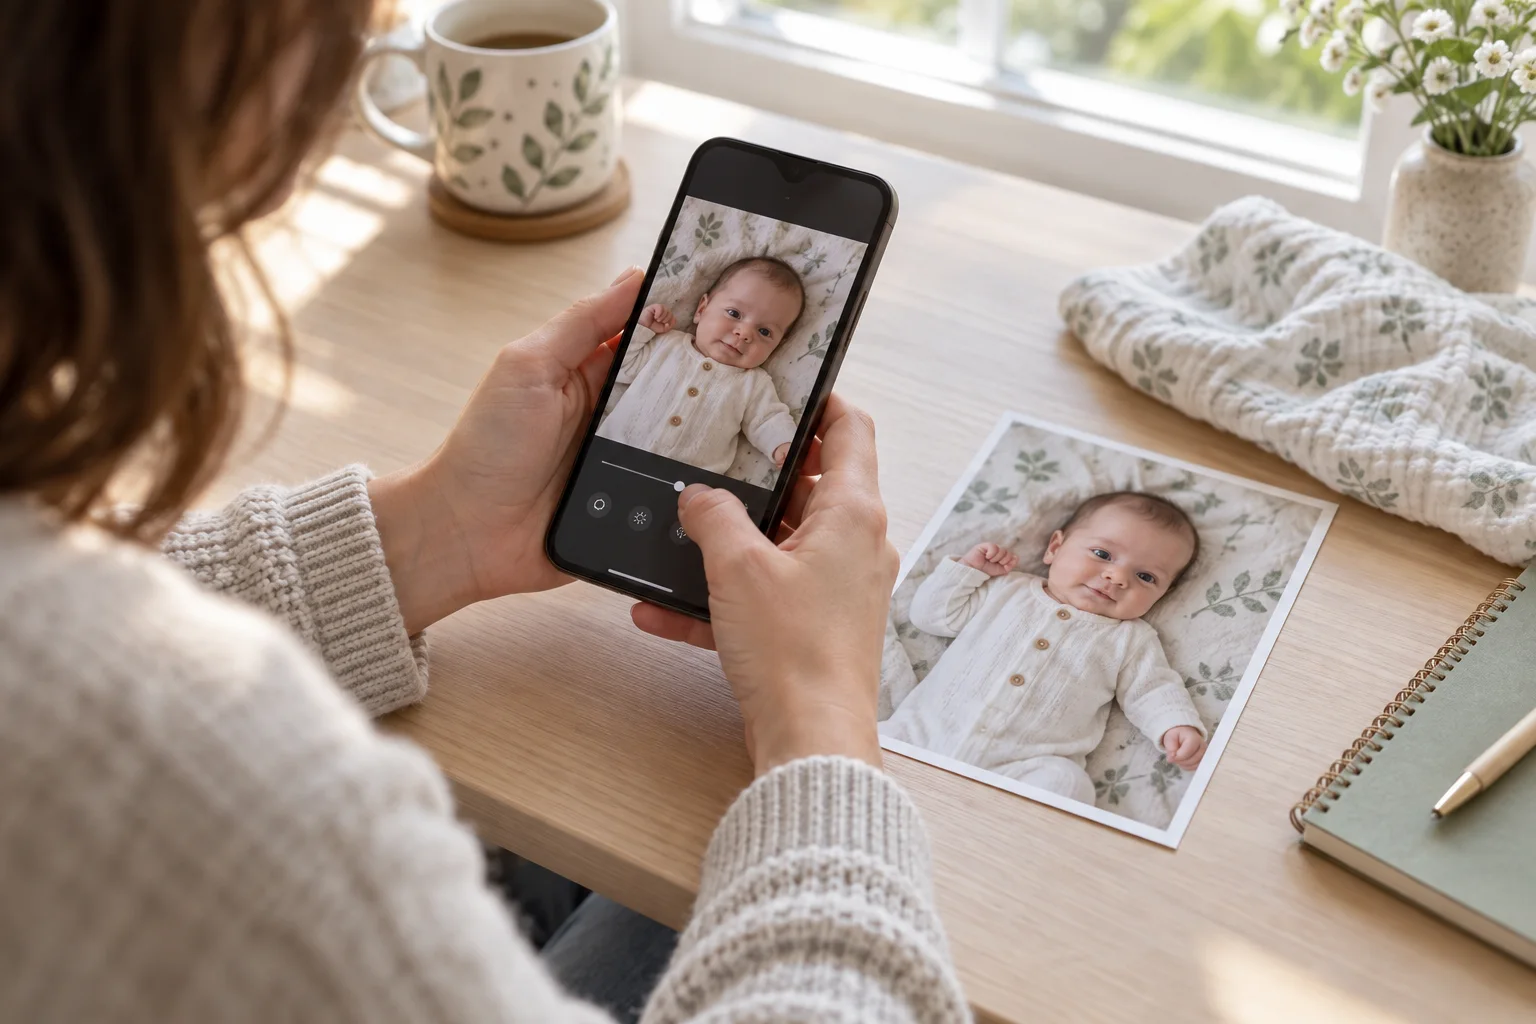
A good newborn edit rarely announces itself. The white blanket looks neutral instead of orange, the face is a little brighter, the crop feels intentional—and the baby still has real skin, fine hair and the same sleepy expression. You can make those changes on an iPhone without buying a full desktop editor or turning the picture into a porcelain portrait.
The order matters. Crop first, balance the overall light, correct color, add only a little contrast, and stop before texture disappears. Use generative AI only when you intentionally want a new setting or outfit, because that is a different job from correcting a photograph.
Before you move a slider
Duplicate the photo or confirm that your editor preserves the original. Pick the sharpest frame from a burst or Live Photo before trying to rescue a soft one. Zoom into the eyelashes, mouth and fingertips; if the camera never captured detail there, heavy sharpening may invent harsh edges rather than recover the moment.
For a picture taken in dim evening light, start with our low-light iPhone baby photo guide. If you have several similar frames, the source-photo checklist also works as a quick way to choose the strongest base image.
A seven-step natural edit on iPhone
1. Straighten before you crop
Use a crib rail, wall edge or door frame as a reference. A tiny rotation often makes a phone snapshot feel deliberate. Then crop away visual noise while keeping comfortable space around the head, hands and feet. A 4:5 vertical crop suits many feed posts and common print shapes, but preserve the uncropped original for future formats.
2. Set exposure for the face, not the blanket
Raise overall exposure gently until the face is readable. Pale blankets and white clothing can brighten faster than skin, so watch them for lost detail. If the room was genuinely dim, let the picture retain some quiet shadow rather than making it look like noon.
3. Recover highlights, then open shadows
Reduce bright areas just enough to show texture in light fabric. Lift shadows enough to reveal hair and the darker side of the face. Moving both controls to extremes creates a flat, gray image. Small changes are easier to trust.
4. Correct the color cast
Look for something that should be neutral: a white onesie, cream wall or gray blanket. If it is orange, cool the warmth slightly; if it is blue, add a little warmth. Do not chase a mathematically neutral result at the expense of natural skin. Evening photographs can still feel warm.
5. Add restraint, not “pop”
A small contrast or black-point adjustment can separate the subject from a pale room. Too much makes nostrils, eyelids and blanket folds look heavy. Saturation is usually the wrong fix for newborn skin; if every pink area becomes vivid, pull it back.
6. Protect texture
Real newborn skin can show flakes, tiny marks, redness and uneven tone. Those details are part of the child, not defects that require removal. Avoid face reshaping and strong skin smoothing. Use noise reduction sparingly; if eyelashes and fine hair vanish, it has gone too far.
7. Compare with the original and stop
Toggle the edit on and off. If the edited version first draws attention to its filter, reduce the strongest adjustment. Check that eye color, skin tone and distinctive marks remain recognizable. A natural edit should improve legibility without rewriting the baby.
Make the memory easier to see—not harder to recognize.
When a conventional edit is enough—and when AI is a separate choice
| Your goal | Use | Why |
|---|---|---|
| Straighten, crop, brighten or correct warmth | A conventional photo editor | The change is predictable and does not need scene reconstruction. |
| Remove one distant distraction | A careful cleanup tool | Limit the editable area and preserve people and support points. |
| Create a new studio, seasonal or milestone setting | A generative portrait workflow such as Totti | The output intentionally changes the scene and may also alter details. |
| Make a very blurry face sharp | Usually choose another frame | Software can infer plausible detail but cannot recover what was never captured. |
If you want exact written instructions for a general-purpose editor, the baby photo editing prompts include protected areas, failure checks and dated source/result examples. For simple browser-based adjustments, try the free baby photo editor.
What a deliberate AI restyle looks like
Totti starts from an existing baby photo and applies a selected portrait template. The before-and-after control makes the scope of that transformation visible. Treat the “after” as a generated keepsake, not as a corrected documentary original.
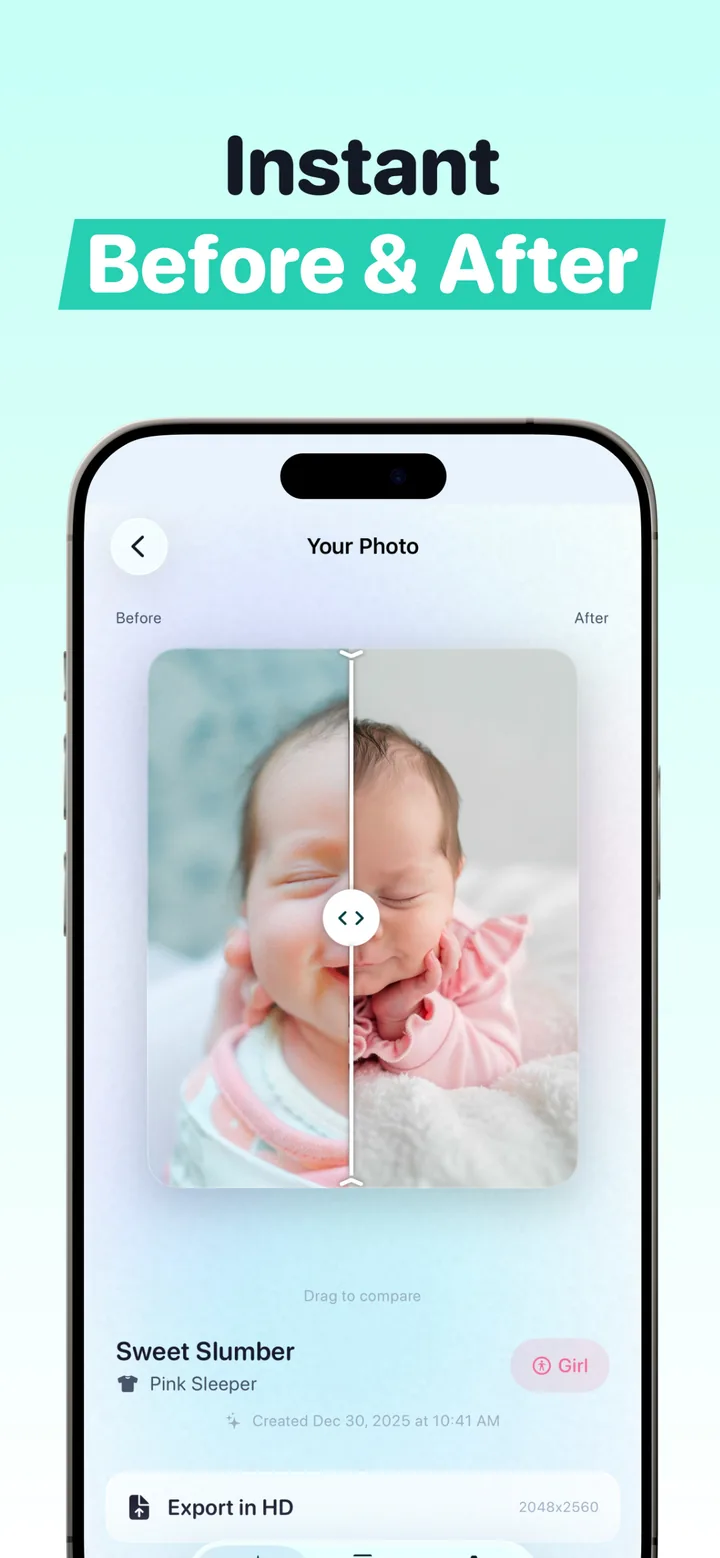
Use a template only after finishing any basic source selection. A clear, evenly lit input gives you a more honest comparison. The before-and-after review guide explains how to check identity, anatomy, support, light and disclosure.

Want a new portrait setting, not just a correction?
Free to download; optional in-app purchases. Choose a visual template, review the generated portrait beside the source and keep the untouched original.
View Totti on the App StoreFive edits that usually make newborn photos worse
- Whitening skin: a baby's natural color is not a white-balance card.
- Maximum portrait blur: bad masking can cut into hair, ears and the supporting adult's fingers.
- Heavy sharpening: it turns skin texture and low-light noise into crunchy edges.
- Erasing support: never remove a hand or surface that keeps a pose physically safe.
- Adding text inside a generated image: use a normal text layer for names and dates so spelling stays exact.
Export, privacy and sharing
Save a full-resolution version before making a smaller social copy. Keep the original and edited files in separate albums with clear names. Do not use a generative edit for a passport, visa, school ID or medical document; official photographs must follow the issuing authority's current rules.
Before uploading to any AI service, check retention, training, deletion and third-party processing. Get permission from the parent or guardian and every recognizable adult. The AI baby photo privacy checklist covers those questions. The Totti free-generator guide explains the current $0 workflow and where optional purchases appear.