You can make a polished birth announcement photo on an iPhone in six steps: choose one clear portrait, duplicate it, crop for the destination, make any restrained photo edits, add the baby's verified details in a layout tool, then proofread against the original record before exporting. Keep a second, lower-detail version for public sharing.
If you use Totti to create a studio-style portrait, treat that as the portrait step only. Totti is not a custom typography or birth-stat editor. Add the baby's name, date, time, weight and length afterward in Apple Markup, Canva, Adobe Express or another layout app where you can type and check every character yourself.
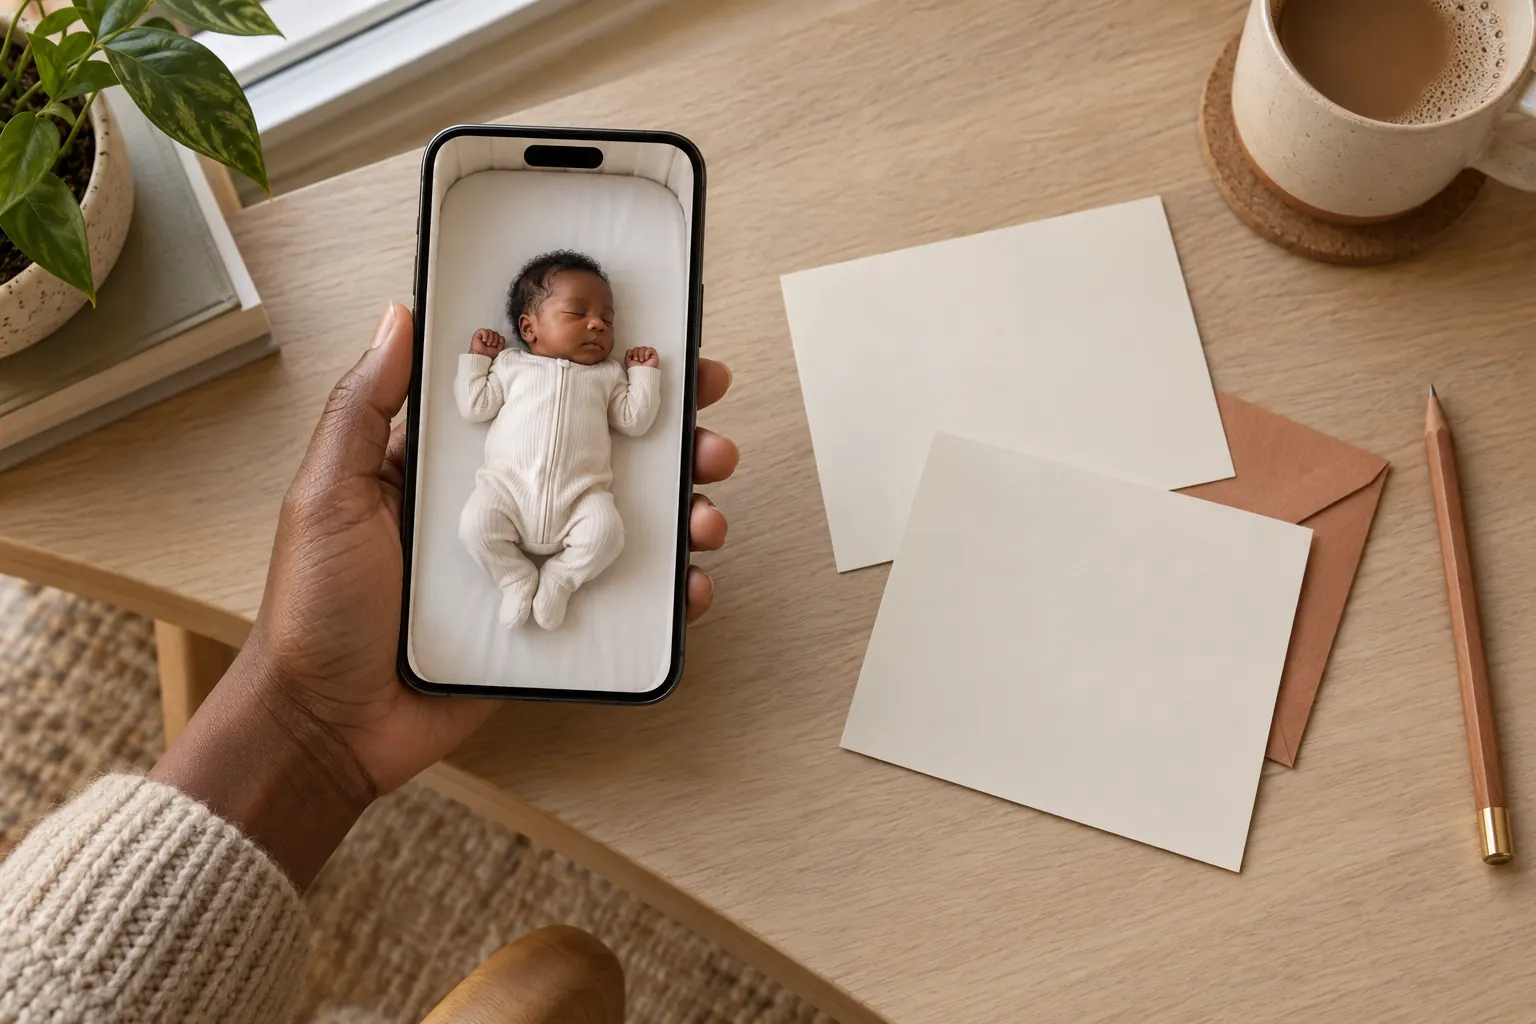
What you need before you start
- One original baby photo at full resolution
- The exact spelling and punctuation you want to publish
- A private list of confirmed birth details, if you plan to include them
- A decision about where the announcement will appear: text message, private family album, printed card, social feed or Story
- Ten quiet minutes for the final proofread
Do not start by choosing fonts. Start by deciding what the recipient needs to know and what you are comfortable sharing. A grandparents' group chat and a public social account do not need the same version.
Step 1: choose the right baby portrait
Look for a sharp eye or eyelash line, natural skin color and enough plain space for words. A portrait with the baby's face pressed against the edge of the frame leaves no room for a name. If the background is busy, choose a tighter crop or a different image rather than covering the baby with a text box.
A sleeping photo is fine if it was made in a safe setting. Do not recreate a raised basket, suspended wrap or unsupported head-on-hands pose for the announcement. The picture can be simple: baby on their back in a safe sleep space, or securely held by a caregiver. Our birth announcement photo guide has seven practical setups.
Step 2: duplicate the photo and preserve the original
Open the image in Photos, tap the More button and choose Duplicate. Apple documents this exact workflow in its guide to duplicating photos on iPhone. Work on the copy so your untouched original stays easy to find.
If you later make an AI-styled version, keep that as a third file. A tidy sequence—original, edited portrait, finished announcement—makes it obvious which image contains generated changes and which contains verified text.
Step 3: crop for the place you will share it
Open the duplicate, tap Edit, then Crop. Apple's current Photos cropping instructions cover freeform and preset ratios. Use:
- 4:5 vertical for a feed post that gives the portrait more screen space.
- Square when the same image must fit several apps or a simple printed card.
- 9:16 vertical for a Story, with important text kept away from the very top and bottom where app controls may sit.
- Landscape for an email header or a folded card with portrait on one side and wording on the other.
Leave more breathing room than seems necessary. Names are often wider than expected, and a line of birth details needs a quiet background to remain readable.
Step 4: prepare the portrait, with or without AI
For a faithful real-photo announcement
Use the Photos adjustment tools for exposure, warmth, highlights and crop. Keep skin texture and color believable. A one-minute correction is usually enough; the announcement does not need a beauty filter. Our baby photo editing basics guide gives a sensible order for those adjustments.
For a studio-style announcement portrait
Start with a clear, front-visible baby photo in Totti, choose a portrait or milestone template, generate the image and compare it with the source at full size. Check the eyes, mouth, ears, hairline, hands and any distinctive marks. Reject the result if the face no longer feels recognizably like your baby or if anatomy looks wrong.
AI may create a new setting, clothing or lighting. If those changes could be mistaken for a real photoshoot, label the finished post “AI-styled” or “AI-edited.” Do not use generated text inside the portrait for a name or statistic. Even when lettering looks convincing at a glance, one wrong digit is enough to spoil an announcement.

Create the portrait, then add your verified wording
Totti offers 50+ studio, seasonal and milestone templates for an existing baby photo. It is free to download for iPhone with optional in-app purchases. Use the result as your portrait layer; add custom names and birth details afterward in a dedicated text or layout tool.
Get Totti on the App StoreStep 5: add the words in a tool you control
The quickest route: Apple Markup
Markup is enough for one heading and one short detail line. In Photos, tap Edit, open Markup, tap Add, then Add Text. You can change the font, size, alignment and color. Apple's guide to adding text with Markup shows the current controls.
Use one text color sampled from the image, then make sure it has strong contrast against the background. Avoid placing white lettering over a pale blanket or thin script over patterned fabric. If the words need a heavy shadow to remain legible, move them to a quieter area instead.
For a card-style layout
Canva, Adobe Express and similar design apps are better when you want margins, separate text blocks or multiple export sizes. Import the finished portrait, add your verified text, and keep decorative elements outside the baby's face and body. Begin with a blank layout if a template asks you to include more information than you want to share.
Three concise wording structures
- Minimal: “Welcome, [first name]” followed by the birth date.
- Family introduction: “[Parent or family names] are delighted to welcome [first name].”
- Detail line: date · time · weight · length, including only the fields you have checked and wish to publish.
For more language options, use our birth announcement wording examples or baby announcement captions. Copy the structure, then write in your own voice.
Step 6: proofread the image, not just your Notes draft
Zoom in on the exported announcement and compare it with the source record. Read the name letter by letter and every number aloud. Check:
- First, middle and family-name spelling
- Birth date and year
- 12-hour versus 24-hour time, plus a.m. or p.m.
- Weight units and punctuation
- Length units
- Whether the text remains readable on a small phone screen
- Whether any AI-generated detail should be disclosed
Ask one other person to compare the final image with the confirmed details. Familiarity makes mistakes surprisingly difficult to spot, especially in a baby's name you have typed hundreds of times.
Make a private version and a public version
The family copy can contain the details you intentionally share with relatives. The public copy can be simpler: first name or nickname, month rather than exact date, and no hospital, room number, address, medical information or visible identification band. Crop out labels before uploading.
A full legal name, exact birthday and location can become a durable identity bundle once it is reposted or indexed. Our guide to sharing baby photos without oversharing offers a practical audience-by-audience checklist.
Common iPhone announcement mistakes
- Editing the only copy: duplicate first, even though Photos edits can often be reverted.
- Typing details into an AI prompt: generate or edit the portrait first; add exact words separately.
- Using too many fonts: one display face and one plain detail face are plenty.
- Centering text over the baby's face: use negative space or a separate card panel.
- Exporting one crop for every channel: make a feed version and a Story version from the same master.
- Publishing immediately: save the image, leave it for ten minutes, then proof it again.
The portrait carries the feeling; the text carries the facts. Create them separately, then check both.